How to Paint 3D Prints
Let There Be Color

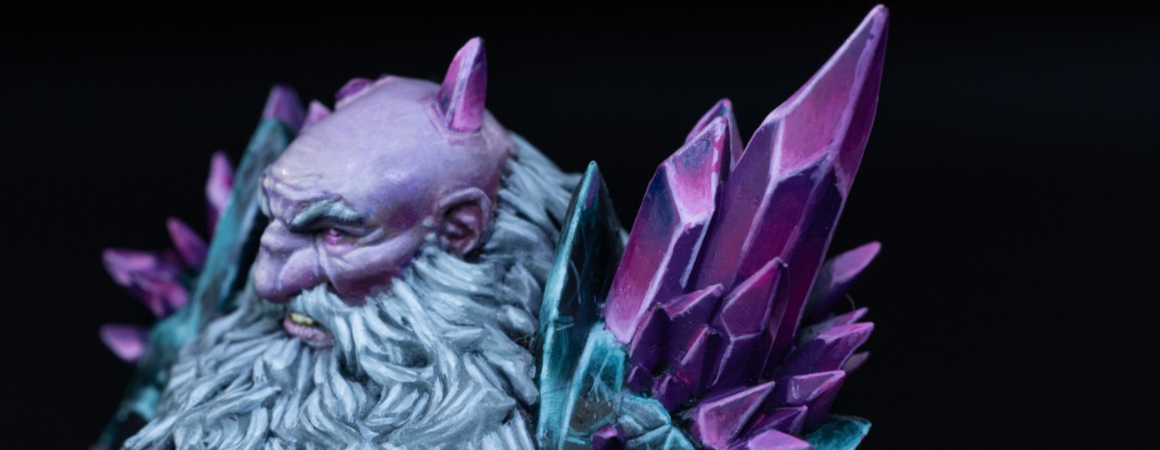
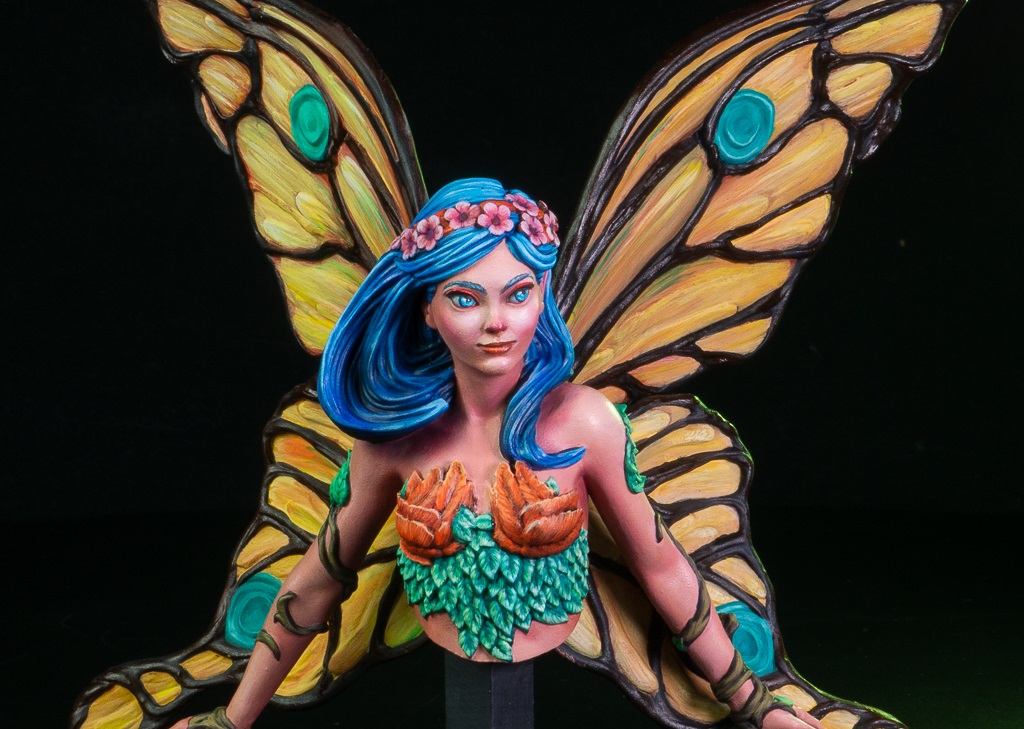
It’s different when you’re in an RPG campaign and all minis are gray and evidently plastic, from when playing in a campaign where all minis are colorful and bright. You can picture the combat and the scenes, and the places… It’s almost like you could see the magic! Well, there you go, let’s get into how to paint 3D prints so your table-top RPG feels magical.
Prep Your Minis
You’ve printed your minis, and now it’s time to give them life! But before that, there is some preparation to do.
Sanding: Usually, big resin prints and FDM prints require sanding to lose those visible print lines or rough areas. Smaller ones, not so much. You can use a fine-grit sandpaper (400-600 grit) for a smoother surface.
Priming: Regardless of the print type, use a spray primer designed for plastics to create a surface that paint can adhere to. Choose a primer color (black, gray, or white) based on the tone of your final colors.
Here Is Where The Fun Begins
Acrylic paints are the go-to for 3D prints. No mistakes here.
Begin with a base coat to establish the primary colors of your model. Use a medium-sized brush for large areas, and switch to a smaller brush for intricate parts. Apply thin layers and let each one dry before adding the next. This ensures even coverage and a smooth finish.
Now, what really makes the difference is depth. When you add depth to your minis, that demonstrates that you know how to paint 3D prints.
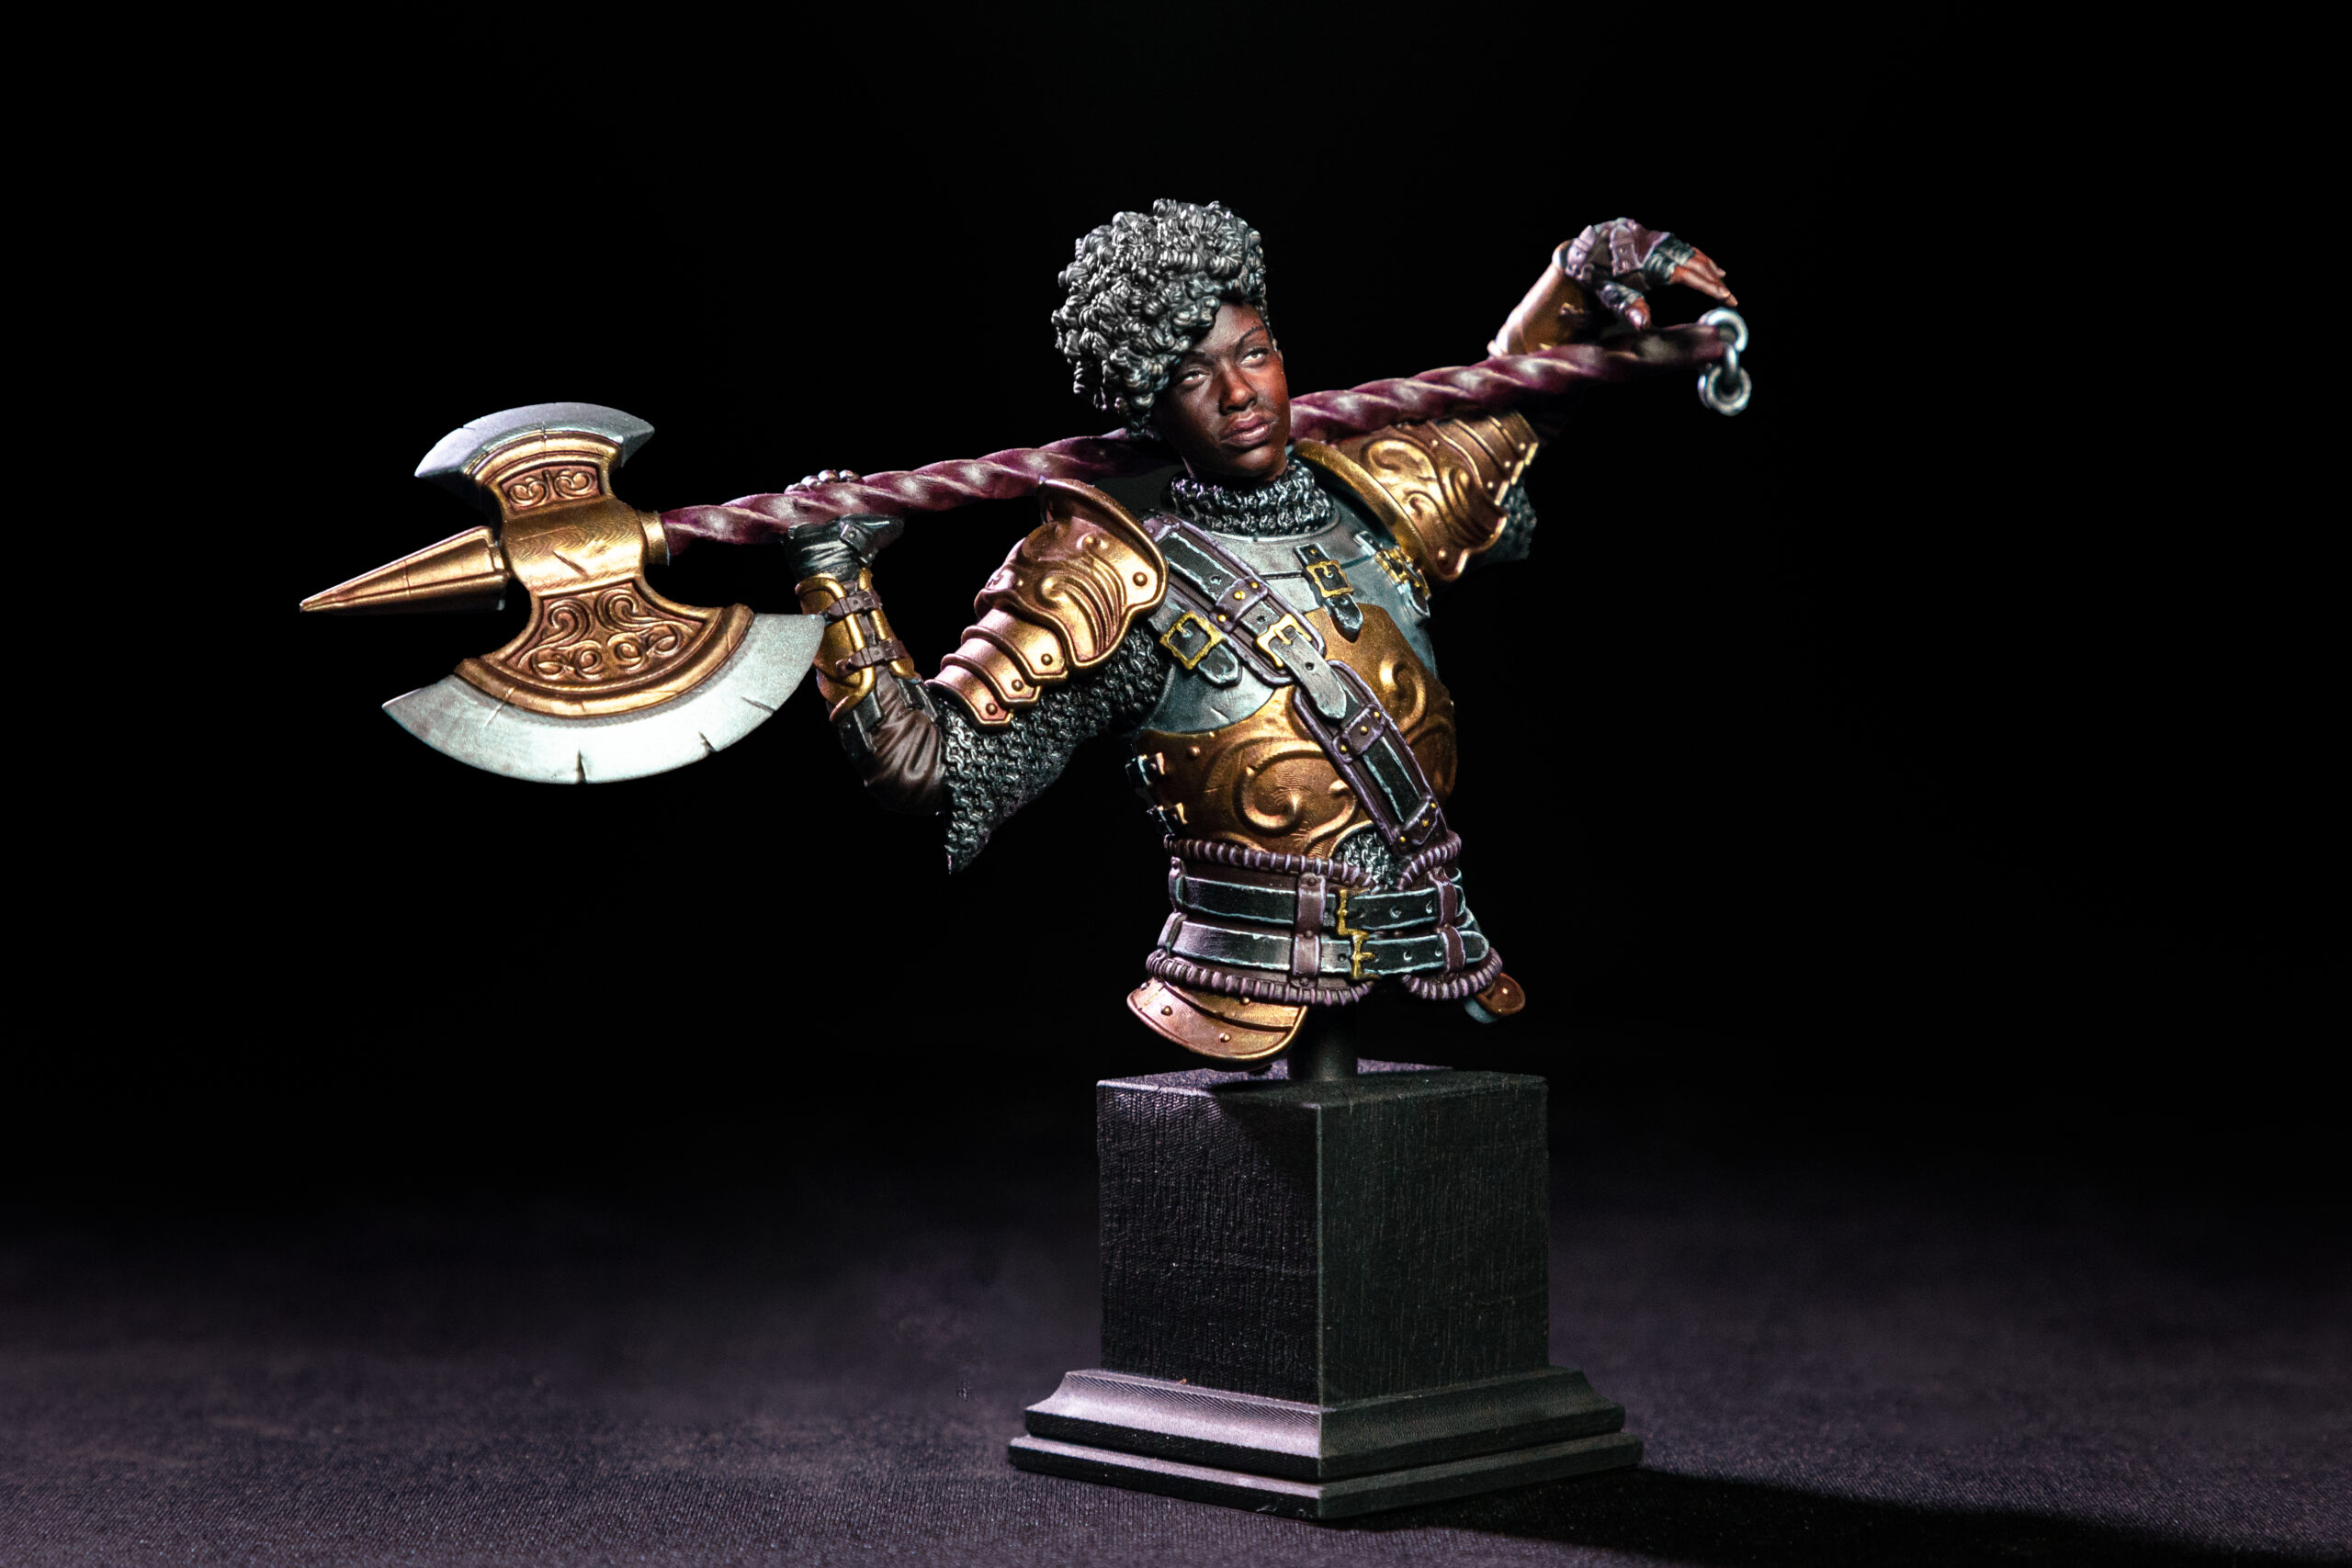
Shading and highlighting can make details stand out: for shading, apply a wash—a thinned-down dark paint that flows into crevices, emphasizing shadows. To highlight, try dry brushing. Load a small amount of paint onto a brush, wipe off most of it, and gently brush over raised areas to bring out details.Even Michelangelo would be jealous of this work! By the way, did you know the statue of David wasn’t always all white? It used to be colorful. In a way, you can say that Michelangelo walked so we could run… Anyway, let’s talk about brushes.
A Type of Brush for Everything
Brushes are numbered (e.g., 0, 1, 2), with smaller numbers indicating finer tips. The more the zeros, smaller the brush, and bigger the number, bigger the brush.
You want brushes 000, 00, or 0 for intricate details, like eyes, buttons, or small accessories. Numbers 1, 2, 3 are for small to medium details and some base coating. 4 and above are for base coats and larger areas. We have a whole other text about Brushes for Miniature Painting if you want a more detailed guide.
Patience and Practice Are a Must
Knowing how to paint 3D prints is as much about patience as it is about technique. Take your time, and don’t be afraid to experiment.
As you gain experience, you can try advanced techniques like wet blending, or realistic fire, where lighter paint is applied to edges to mimic the light. Check our blog to read more about them.
And don’t forget to protect your prints with a sealant: a matte, gloss, or satin varnish can enhance the finish while safeguarding against scratches and effects of time.
Most importantly, enjoy the process, and don’t be afraid to try new things. With practice, you’ll create stunning, personalized models that showcase your artistic self, just like Michelangelo.
Loot Studios can help you paint highly detailed minis, statues and props. Choose your favorite bundle from our previous releases or sign up for Fantasy or Sci-Fi to receive a new bundle every month. You can also check out some tips at our YouTube Channel.


